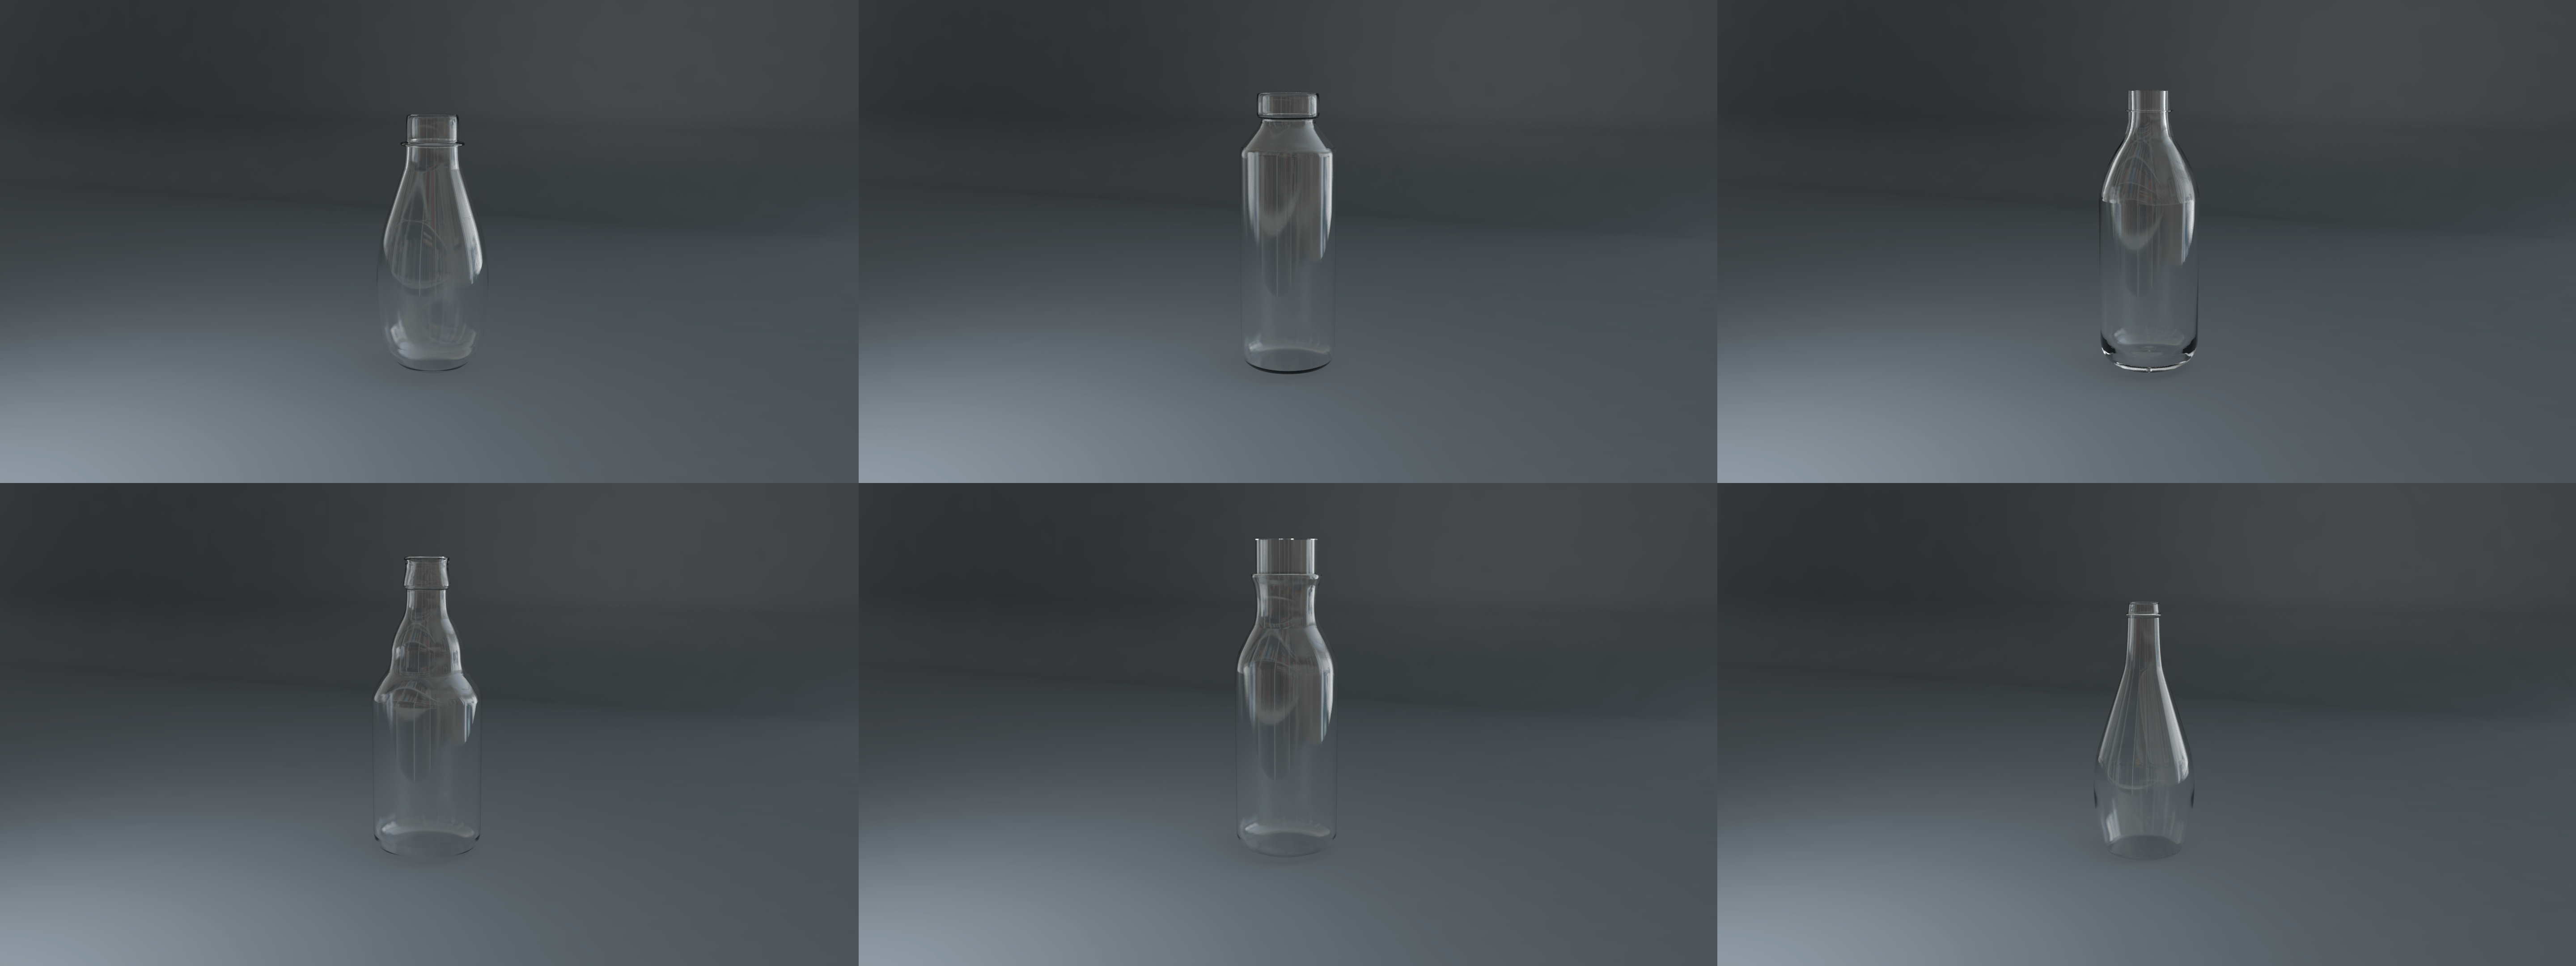
After the last modelling post, I set myself the task of finishing the bottle models. After completing the rest of the splines in Adobe Illustrator, I then saved it and imported it into c4d – from then I completed the same process I went through when completing the first model in the previous post. These are the final results of the models:
Overall, I feel these turned out really well. The realism of these is pretty good however, I feel there still room for improvement within the material settings and lighting to make them look even better – this could be the increase of the blurriness of the glass or the use of a studio HDRI that would better illuminate the models creating more attractive reflections.
Whats Next:
Now that the models were successfully created, I can now try and make the fluid object and material to go inside of the bottle, this will give a better indication as to how the final models will look. In addition, I can also now post these bottles onto social media to find out which one the target audience prefers – enabling me to get feedback from my target demographic.
After conducting my modelling research post using a tutorial from YouTube, I set about putting my newly learnt knowledge into practice by creating a bottle. The development video below denotes my commentary and also the steps in which I took in order to get the bottle from a simple spline in Adobe Illustrator to a full 3D model in Cinema 4D with textures. Here it is:
In the video, I demonstrated my abilities in drawing the profile of the bottle using a reference image, then exploring as an Illustrator 8 file and then importing it to c4d. Once in c4d, I realised that the different splines I had drawn (I had created two of them) had been imported as two different elements which were incredibly useful to know as I can now create all of the spline profiles in one document and then import them all across. After this, I then put the spline into a Lathe NURBS to turn the spline into a 3D object and created the bottle – what I didn’t know was when I imported the spline into c4d was that it wasn’t centred on the zero mark for the X, Y and Z axis. This meant that the Lathe NURBS was taking the splines position and revolving the shape around the zero point, thus creating a larger and wide object.
Final Render:
The final render has turned out well and has allowed me to deem it successful. With the added texture, the object looks really good – even if it might be lacking the thread for the cap at the top of the bottle. I feel that the way I closed the bottom of the bottle up was average, however, you can still see a defect where it’s not fully joined – this will need to be addressed. I feel that the bottom of the bottle could do with being less rounded, for my personal opinion I would like it to be more squared as I think that this would look more aesthetically pleasing.
Whats Next:
Now that this render was successful, I can continue on with the rest of the different shaped objects and create more 3D bottles with different shapes. In addition, I can also test out how the bottles will look like fluids in them – this will further test my abilities as I have never created a liquid texture before and especially ones with pulp in such as all the materials present in the typical juice drink.