In preparation for my project, I need to conduct some research into photorealistic lighting inside of Cinema 4D (c4d). From my Lighting Research post completed in semester A, I discovered that there were 7 different types of lights that are available for myself to use, however due to wanting my products to be lit realistically, I will be focusing on area lights and area lighting as it gives the most realistic and physically accurate lighting inside of the software compared to real life.
Following this tutorial below, I came across 7 elements that aid in making any scene or object look photoreal:
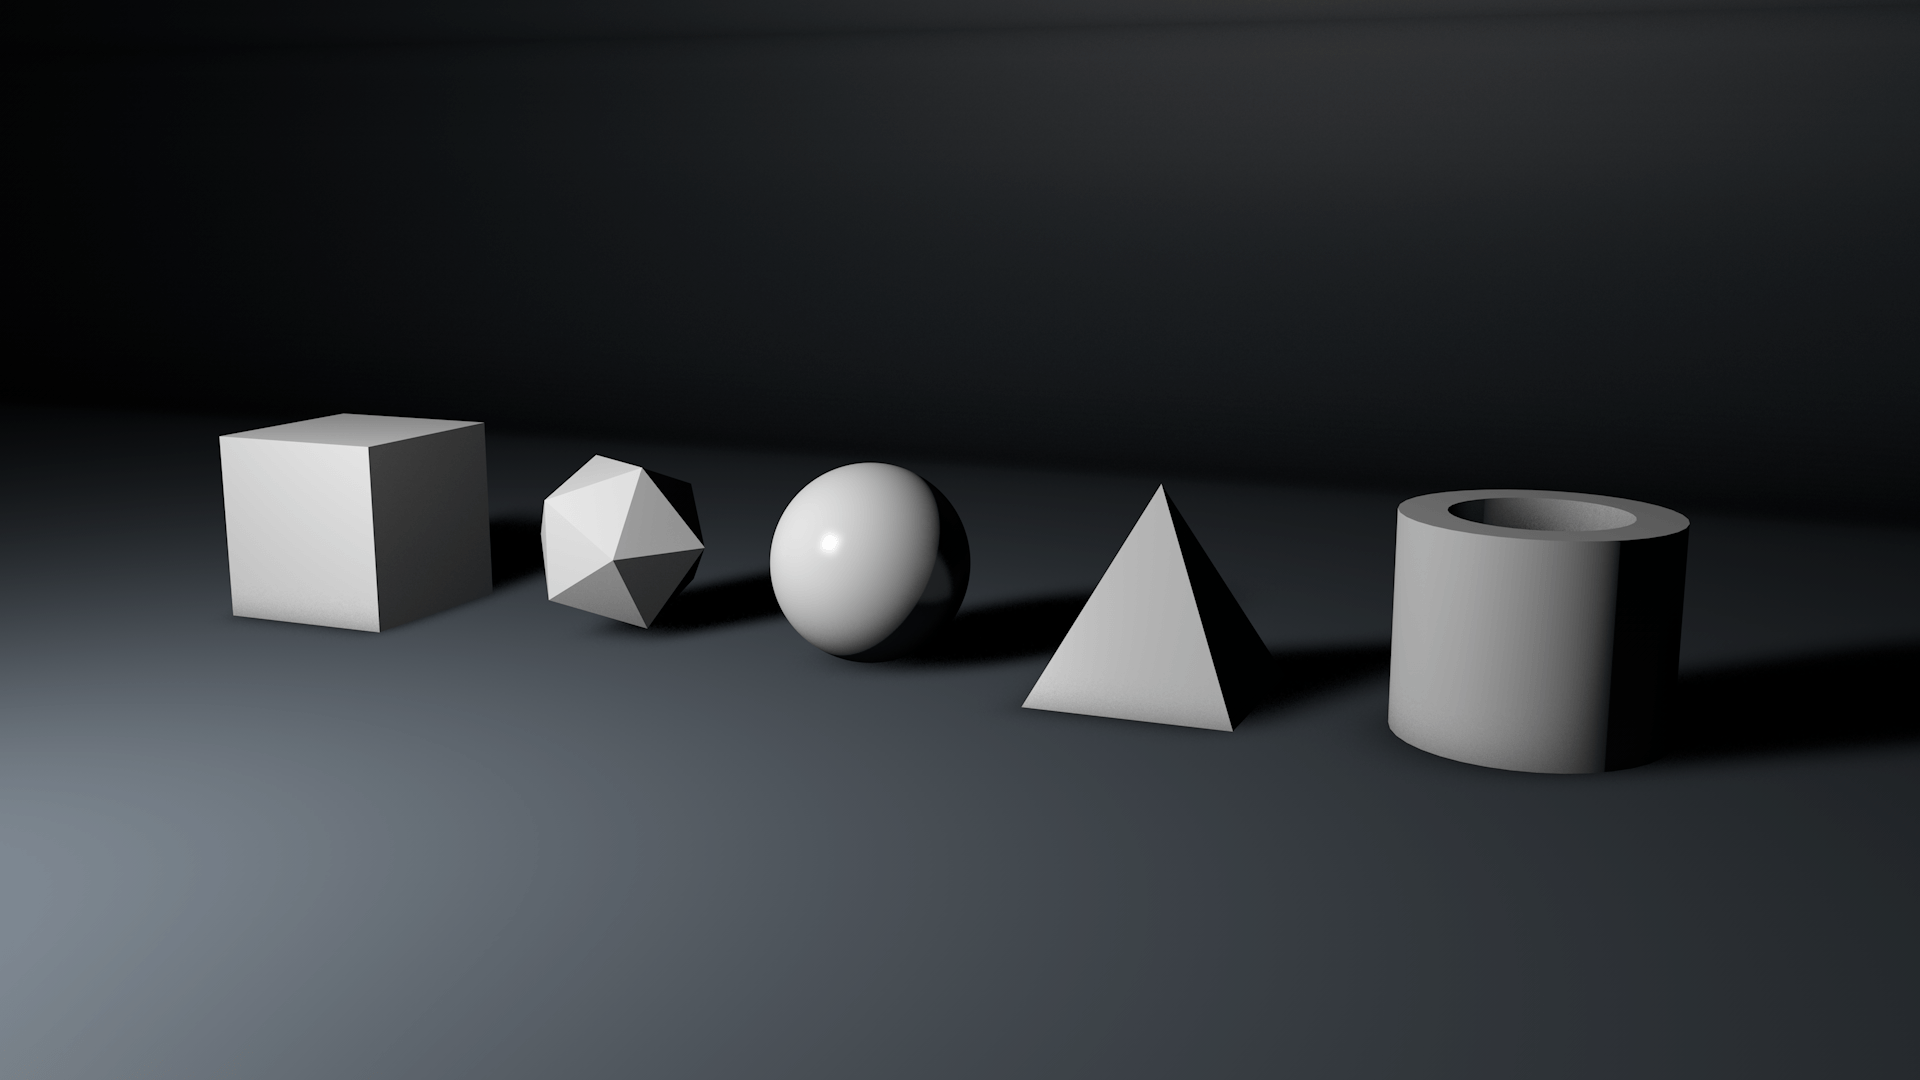
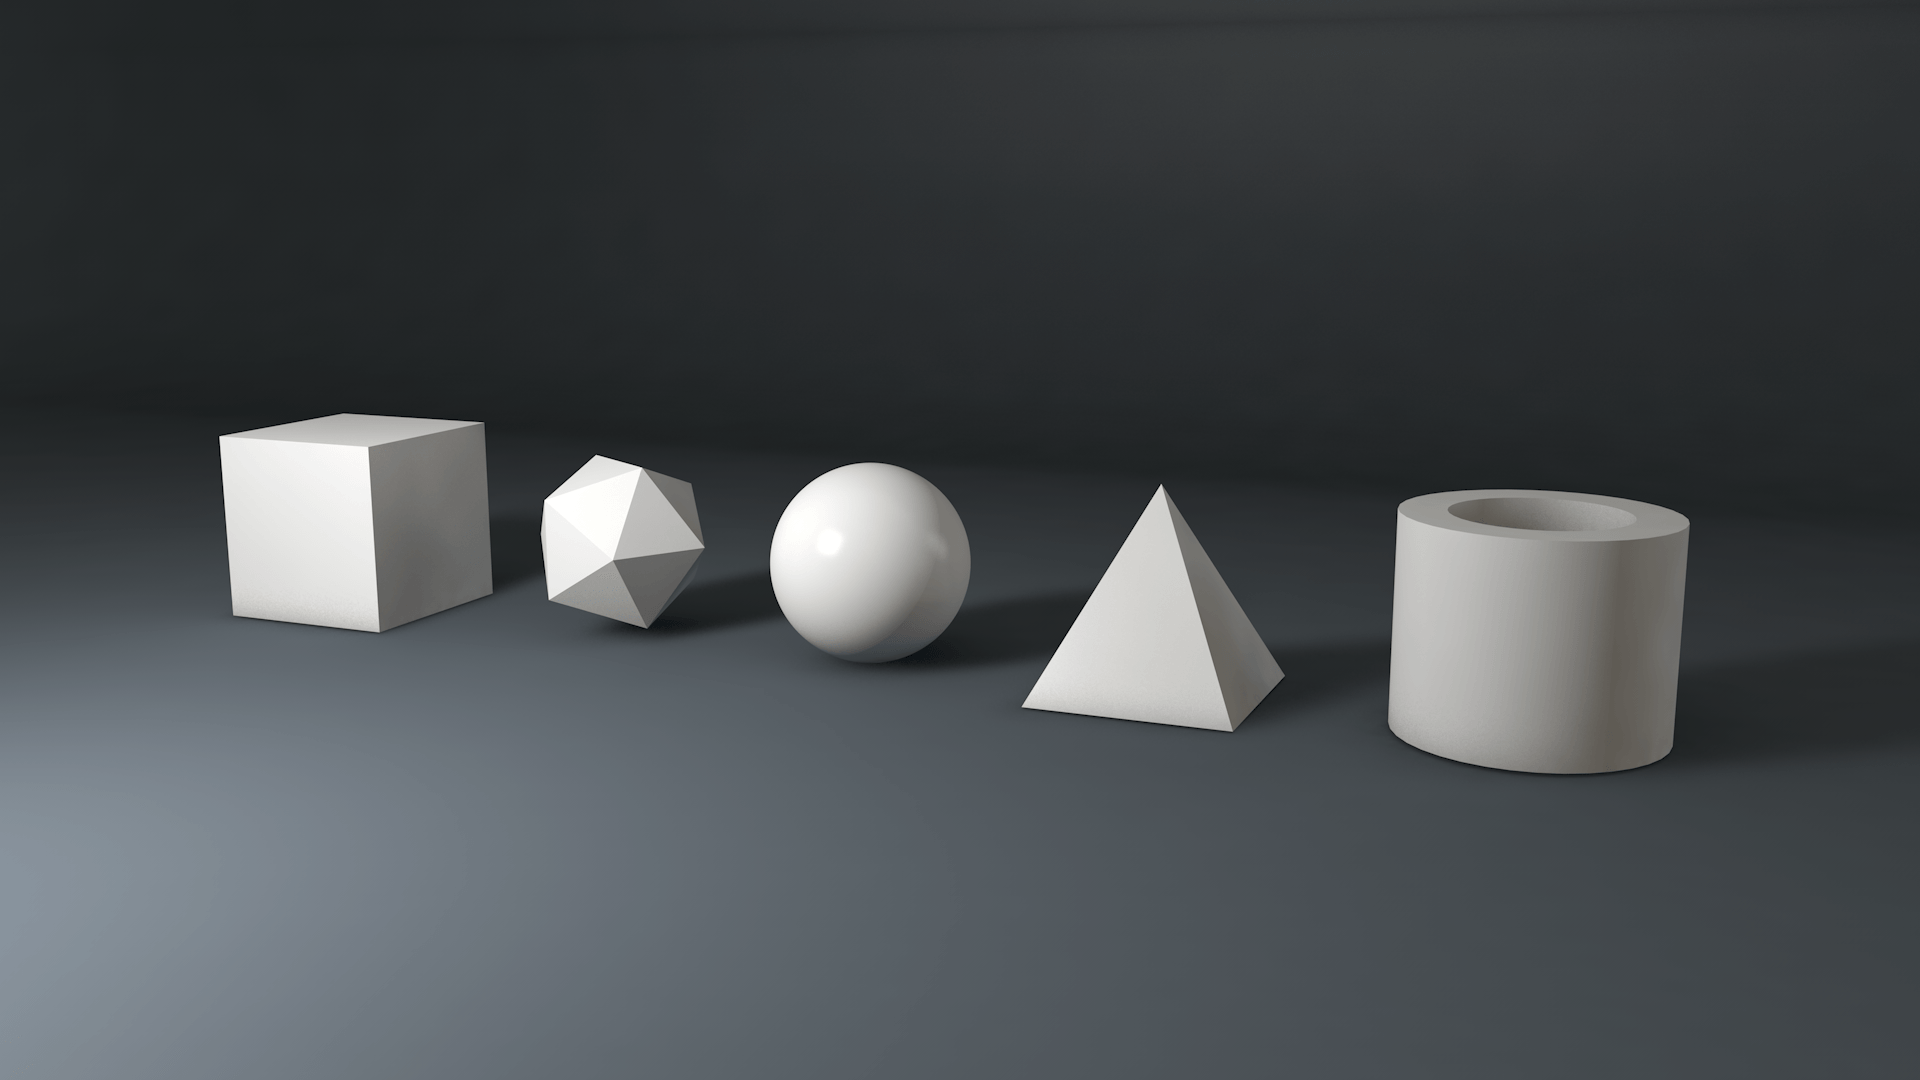
Scene:
This is the stock scene within c4d – I have displayed 5 primitives with different shade, curves and heights to denote how the lighting affects these different objects, and to furthermore determine whether or not its is photorealistic
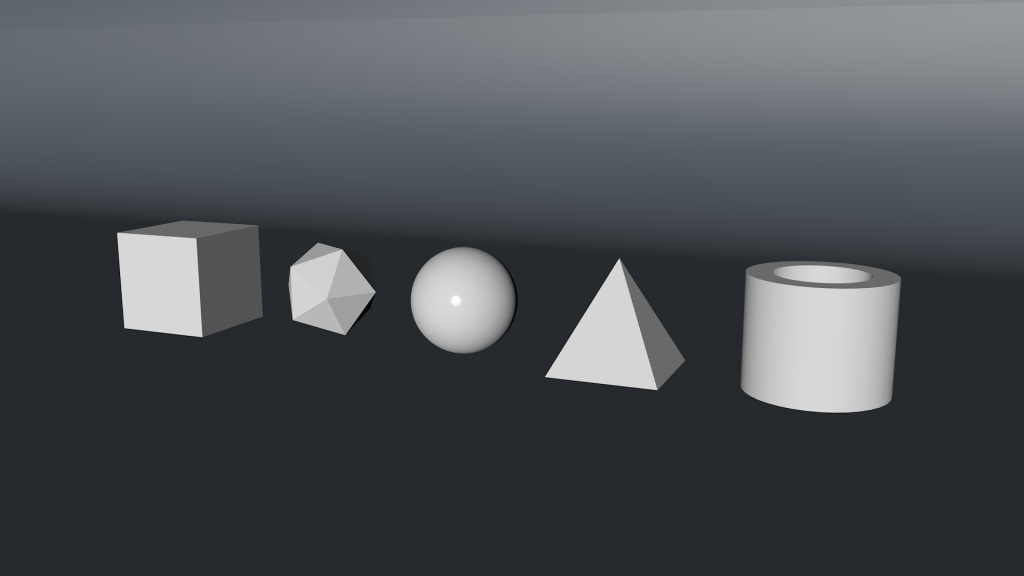
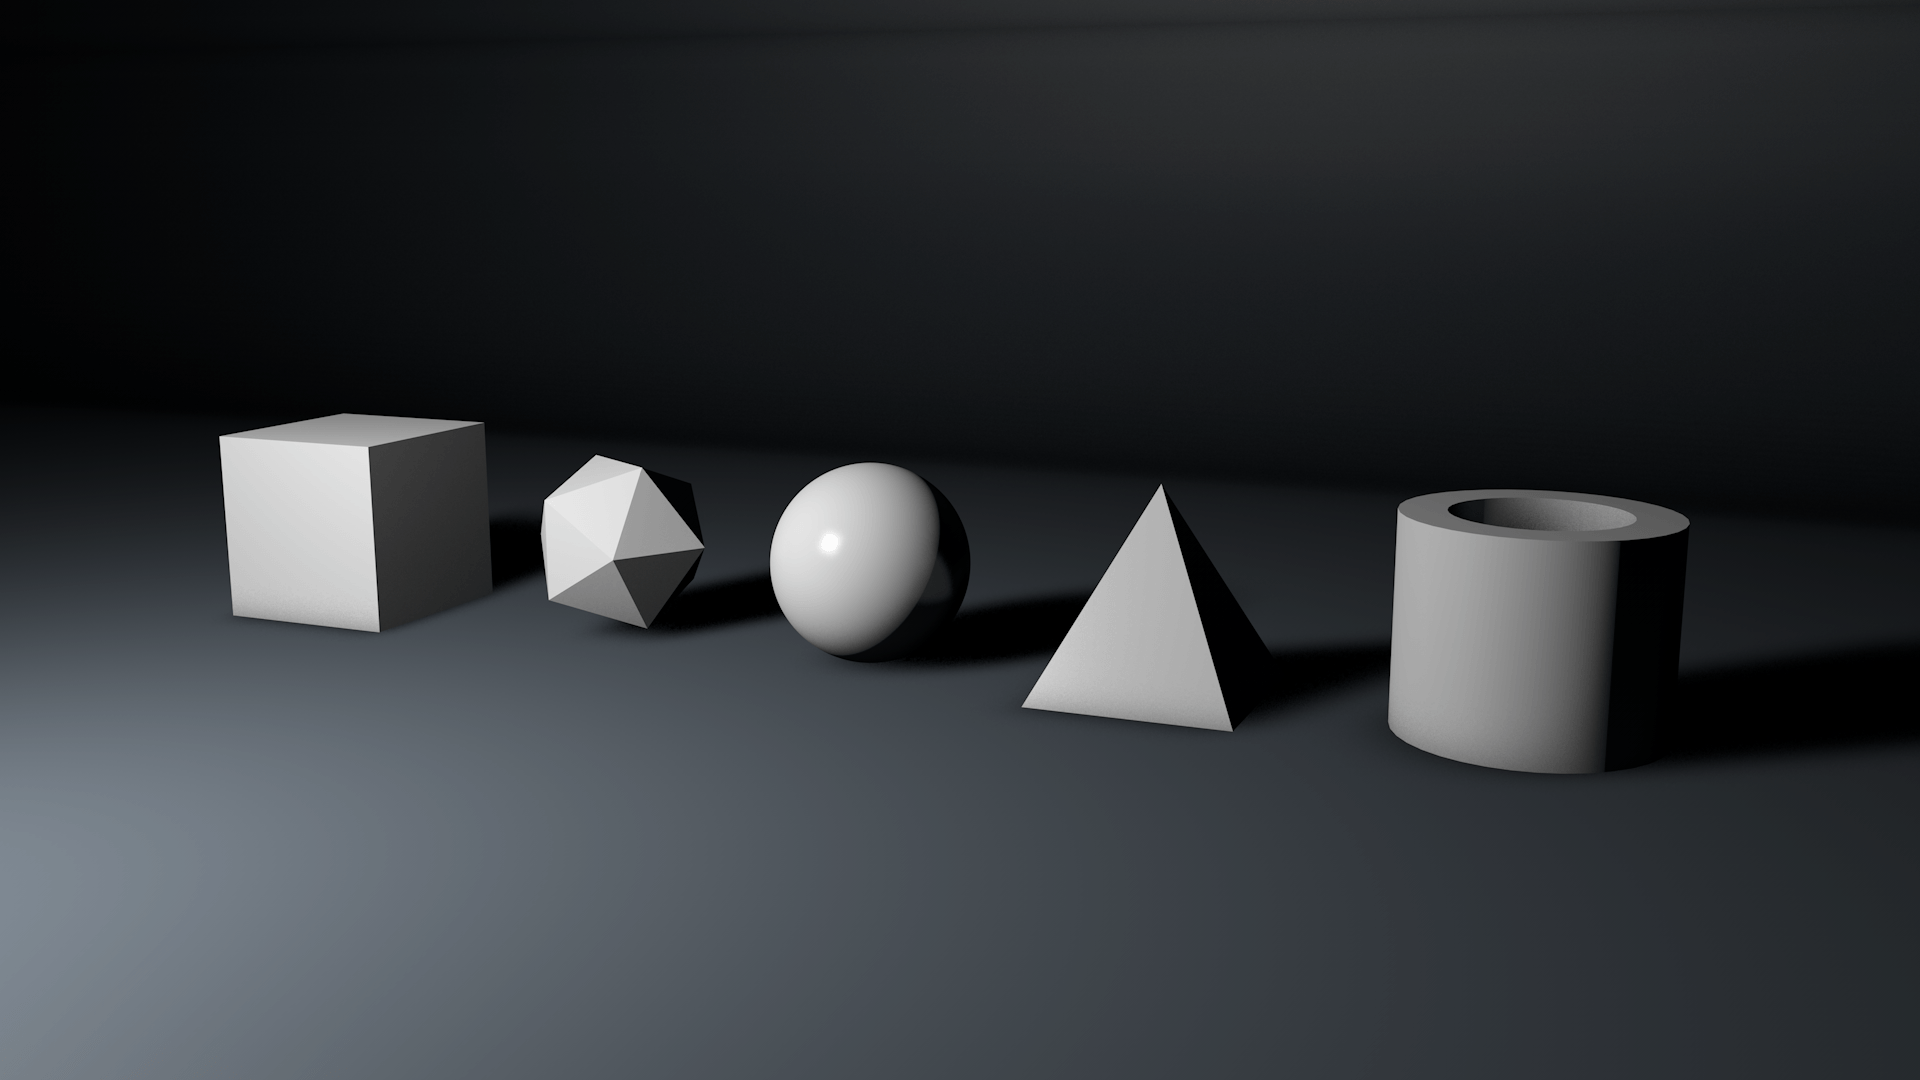
1) Area Light:
In the first part, an Area light was added to the scene. This started to cast shadows on the objects where comparing it to the stock scene.
In terms of realism, this still isn’t very realistic mainly due to no shadows being present, however, when compared to the stock scene its much better.
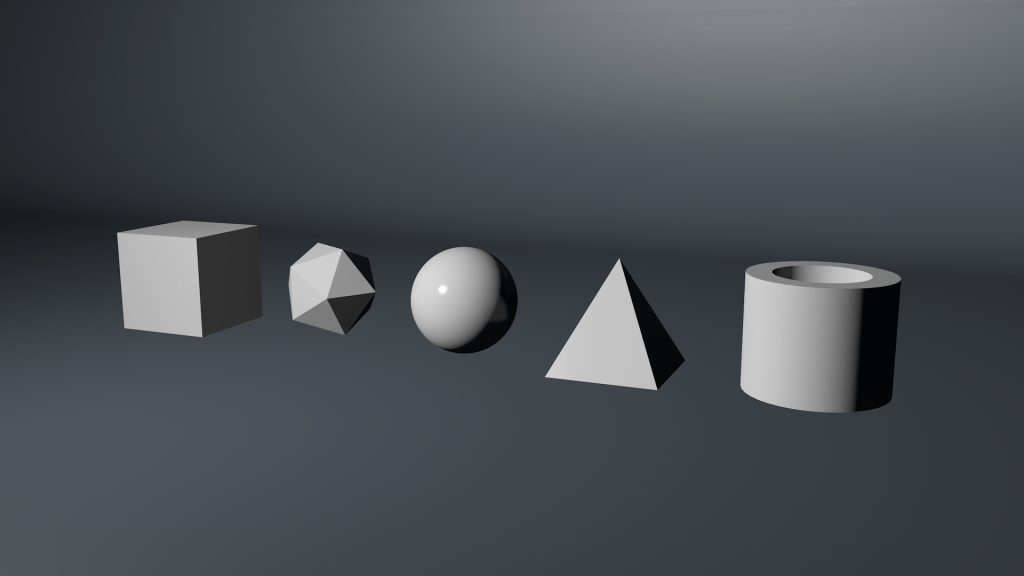
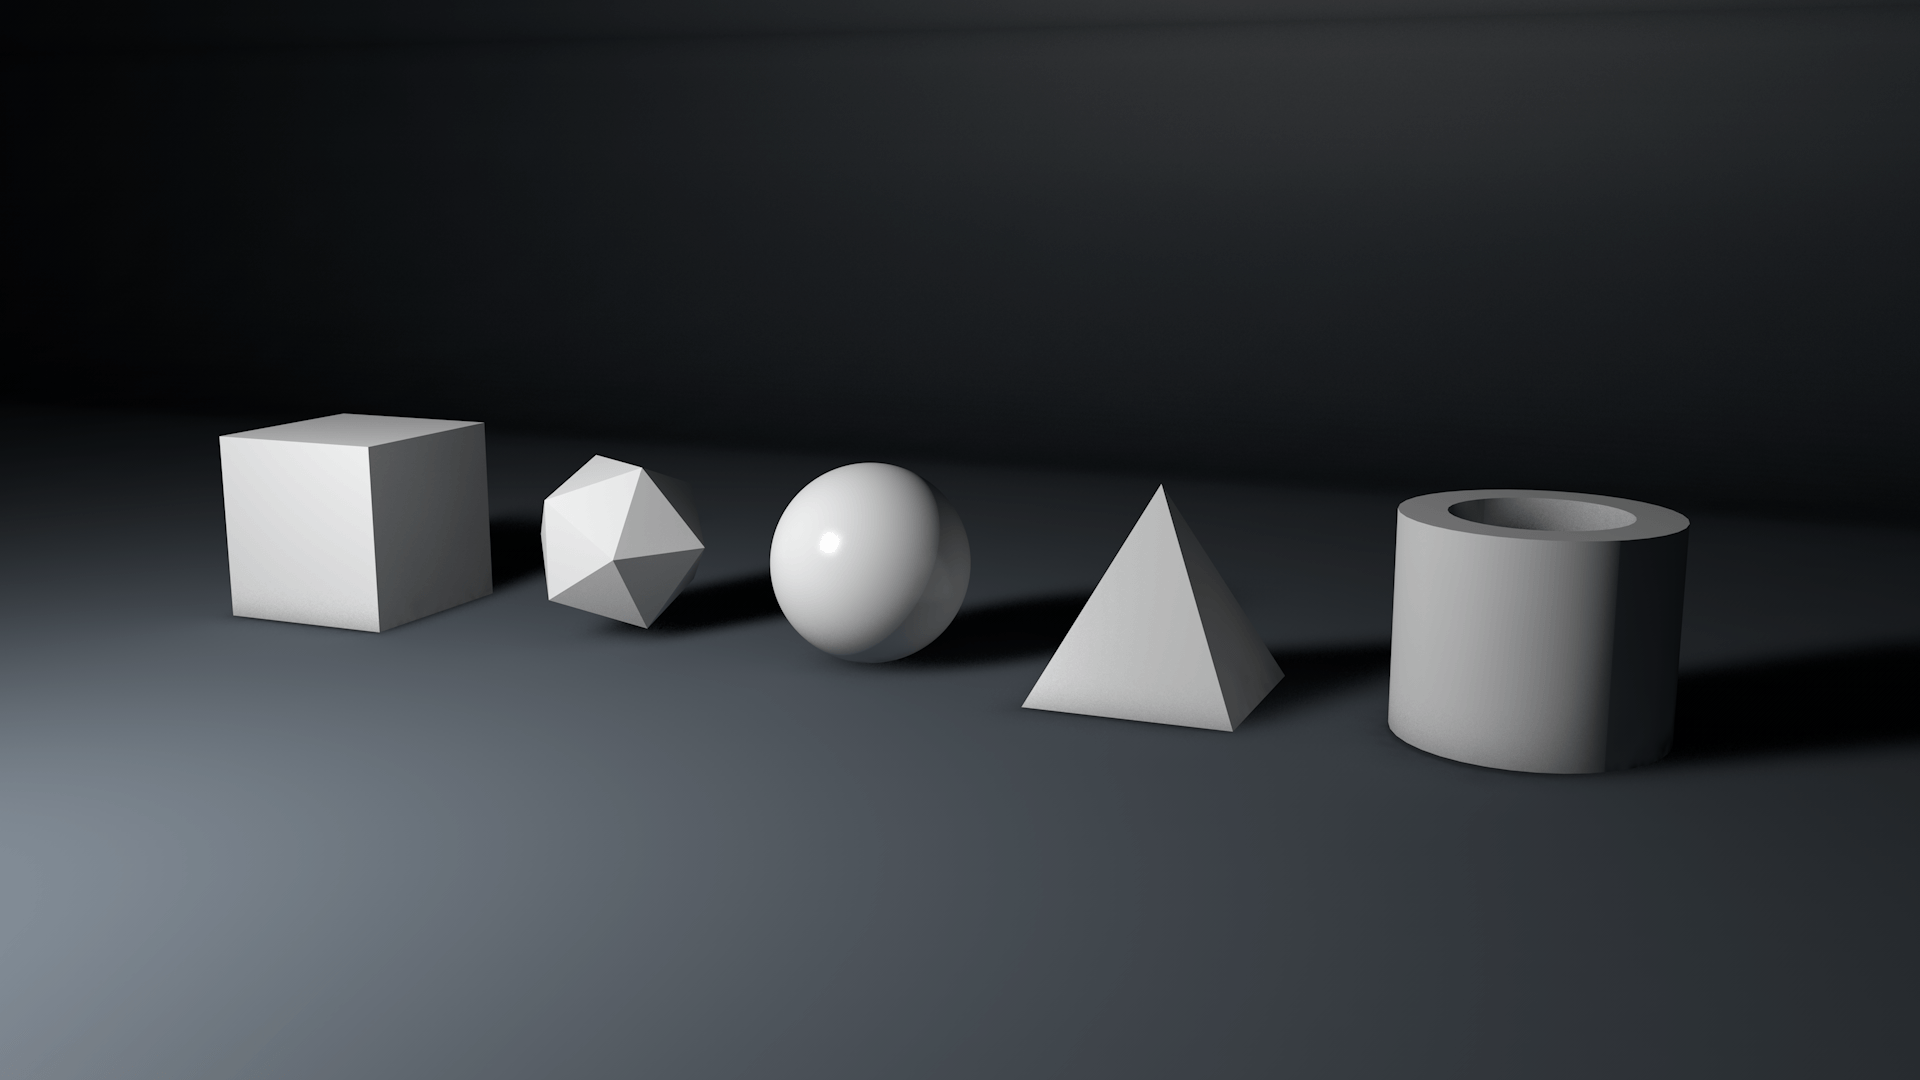
2) Area Shadows:
In the Area light settings, ‘Soft shadows’ were enabled allowing the light to cast shadows in the floor of the scene. The benefit of ‘Soft shadows’ over the other option, ‘Hard’ is that the shadow has a soft diffused edge.
In terms of realism the scene is getting much better, this is where I feel the benefit of soft shadows is more apparent as it acts like the light is more of a soft box. In the real world, well defined shadows would only be produced in circumstances where the light is really close to the object or strong, like the sun.
3) Light size: – Larger light = Softer shadow & Smaller light = Sharper shadow.
The third part isn’t necessarily essential to do, however, it makes you think about the size of the your lights being used within the scene. The current size of the light being used in this render was 800cm x 800cm, which is about double the size when compared to it in no. 1 & 2. Specular strength & hot spot
Although the lighting hasn’t necessarily changed, the ‘Hot Spot’ or white dot on the objects surfaces has increased in size. The size increase has made that dot become much larger and subsequently seem more diffused – giving a completely different look to the scene. In reality, if the light was to become much larger, the shadows should become more diffuse as more light can reach around the object (even though this isn’t particularly present in my render).
Oppositely, if the light became much smaller the reverse would happen. The hot spot on the objects would become tiny and very bright and the shadows would also become much sharper, as there is less light to reach around the object.
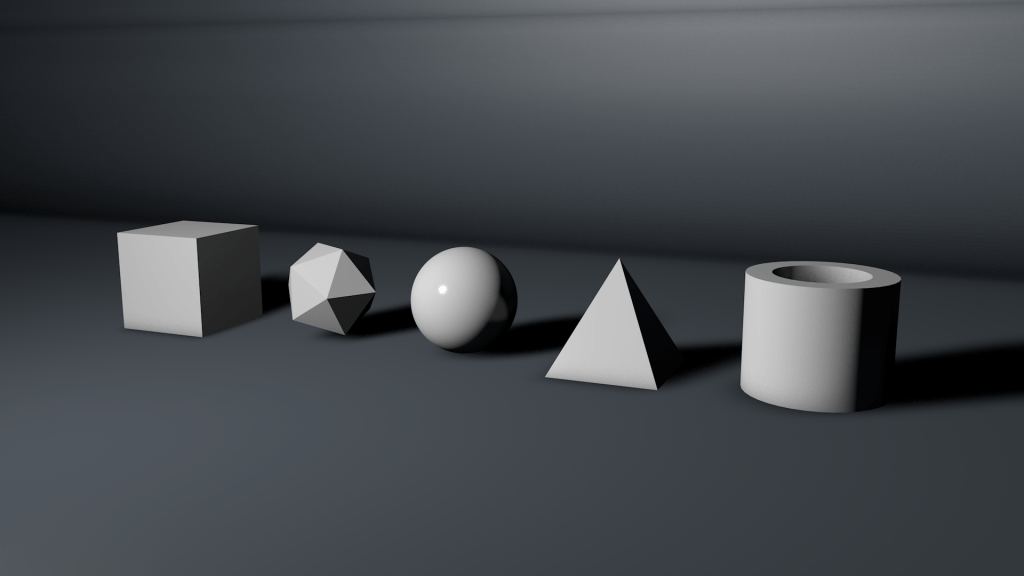
4) Falloff:
In the Area light settings ‘Falloff’ was enabled (switched to Inverse Square because its physically accurate), this basically created a spherical boundary around the light. The objects or things inside of this boundary would be illuminated, however, this boundary had a strength gradient meaning the further away the object is from the centre, the less light illuminate it. This can bee seen below, where the edge of the boundary is on the objects, thus illuminating them and the background being dark.
When this was added to my scene, the results were dramatic. The lighting looked much more realistic as the light started to falloff before illumination the background completely. In addition, I feel that the shadows themselves also because more realistic too – specifically on the cylinder, the shadow reaching around the cure is more gradual then before and this is the same with all of the other curved shapes.
5) Luminance Objects:
The element added within this step was a luminance plane behind the original light source – the plane is the same size as the light object (400cm x 400cm). The idea behind this is due to the larger surface area of the shape, that it is supposed to give light interactions on the object and instead of just a bright hot spot, it was supposed to take different shape.
Although this was mentioned in the tutorial, I didn’t see any difference in my scene when this was added. Maybe due to multiple factors such as: Shape, Length, Position (in relation to objects) and Angle – this feature wasn’t able to fully show its potential like it did with the model in the video. However, I will be sure to keep this in mind when lighting my scenes just incase this works.
6) Global Illumination:
Global Illumination or GI is a setting that can be enabled in the render settings and describes their Radiosity solution. The radiosity considers the direct illumination of each surface of an object, and adds to that secondary illumination. This basically bounces the light off other nearby surfaces back into the environment.
When enabled, the results are impressive. The GI can be specifically seen in the shadows of the objects, as the surfaces of each object are reflecting more light back, dark areas close by get illuminated.
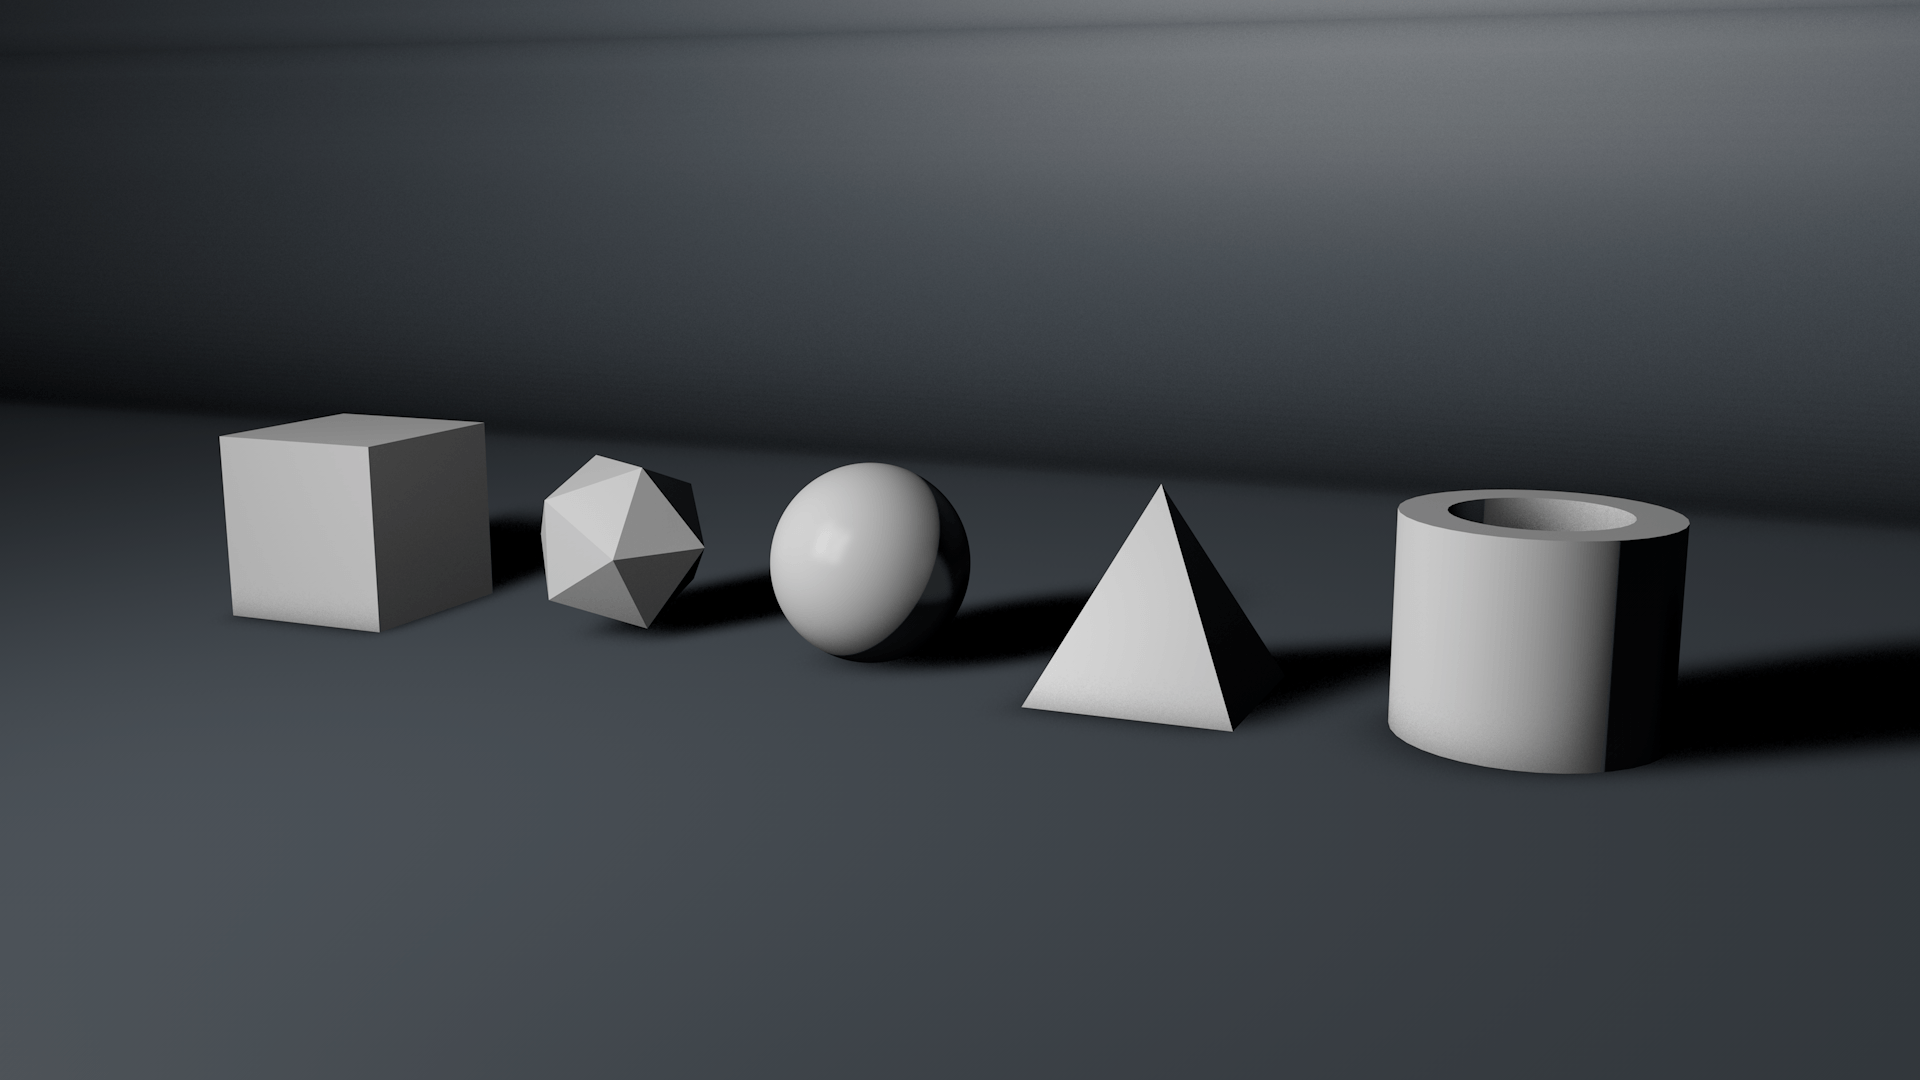
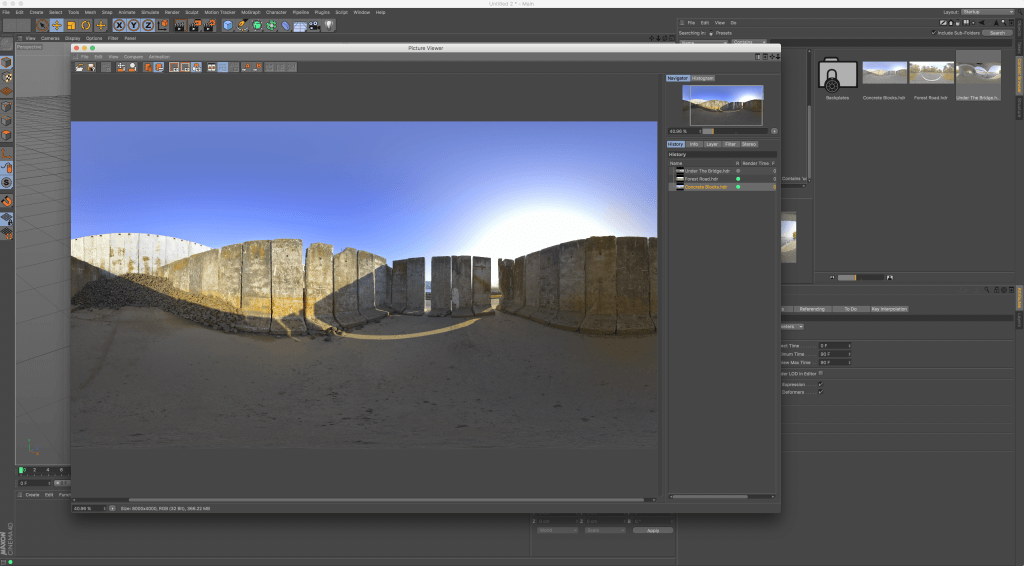
7) Sky/HDRI:
Within c4d already a few HDRI (High-Dynamic-Range Imaging) images are available for me to use straight away. Within the video, the HDRI is used within the scene add further reflections and ambient lighting to the objects in the scene. Below is an example of the HDRI’s that are already available, these feature a mixture or light and dark sections to increase the high dynamic range of the image, increasing its effects when implemented into the scene.
The HDRI was added to the scene on an enlarge sphere in the scene and it was adjusted and rotated so that a bright point within the HDRI was facing the right side of the objects.
With this final stage, I feel that the objects look very realistic, especially the sphere. Adding the HDRI gives the image some ‘real world’ reflections to the surfaces of the objects, which they would normally get in real life.