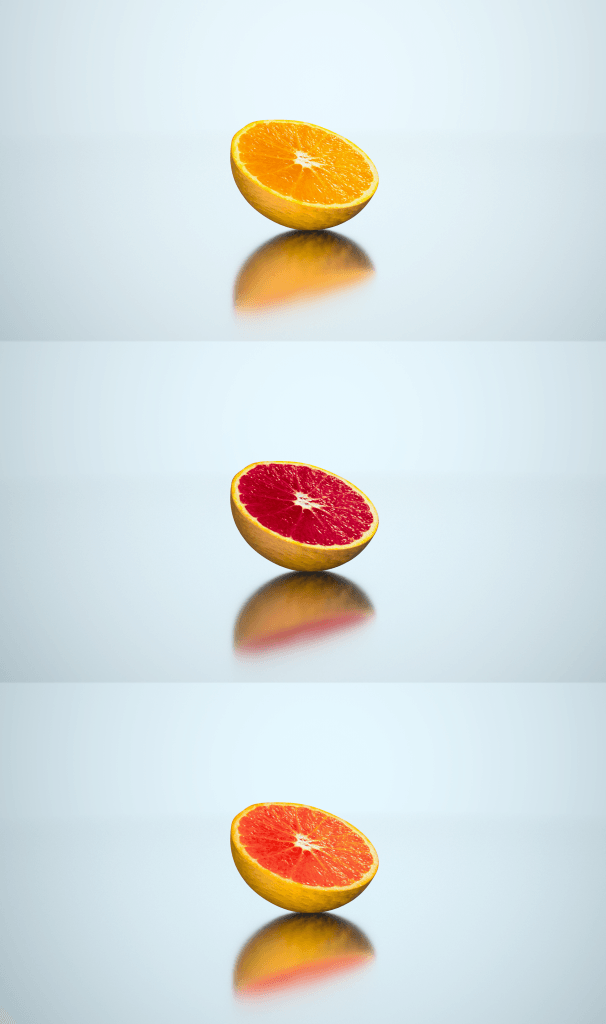
After successfully creating the orange and integrating it into the current and latest version of my project, I continued to make the other fruits – the grapefruit and Blood orange:
In the timelapse I showed myself cutting out the inner flesh of the fruit in Photoshop, isolating the inner section so I could alter the colour whilst retaining the original look for the skin. However, I forgot to record the last half of this stage where I implemented it into C4D – This section was very tedious as I was making small alterations to the hue, saturation and vibrancy of the image to make it look more realistic and to also achieve the desired look which I had envisioned, which can be seen below.
Renders:
I’m really happy with the way these turned out, they look really good and are a close representation of real fruit versions. When it comes to rendering these out with all of the assets together, I will alter the rotation, scale and the displacer to create slight variation between the different fruits. In addition, I can further change this by editing the original image in Photoshop if a more drastic visual change is needed.
Whats Next:
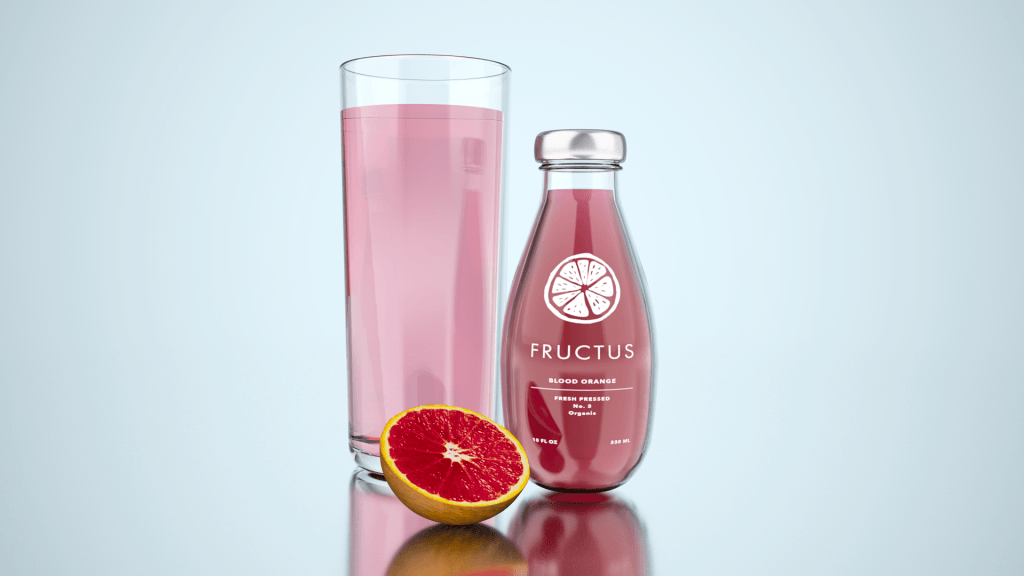
Next, I need to edit the liquid materials so that they compliment the colour of the fruit further – denoted in the render below its visible to see how the colour of the fruit doesn’t match the colour of the liquid. In addition, I also need to add the ice cubes to the glass to make it look desirable, cool and refreshing.


Leave a comment