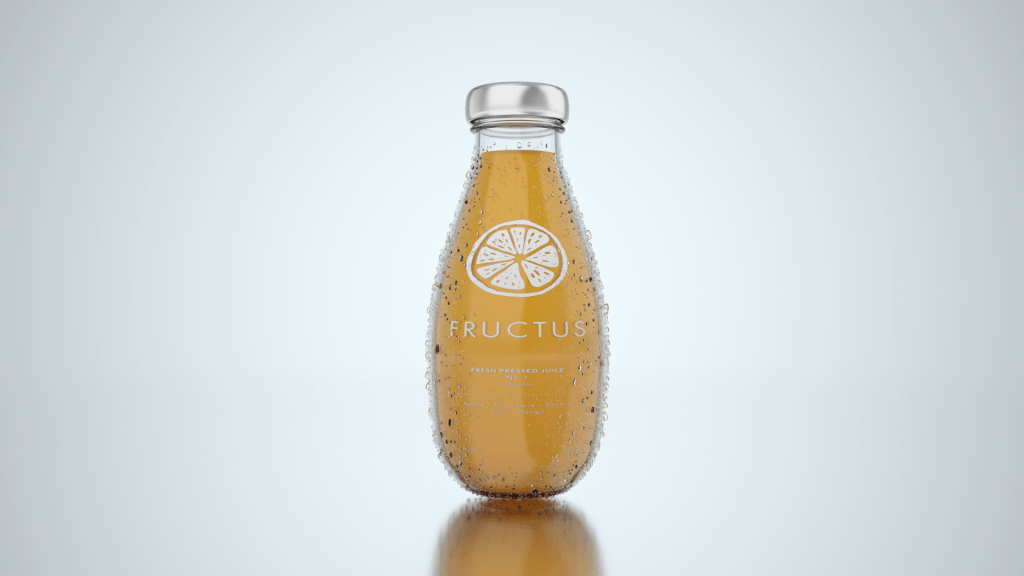
Using a tutorial found on YouTube, I am going to create condensation on the outside of the bottle. My processes and workflow can be seen in the time-lapse below where I experiment with different sized droplets and also the falloff for a more aesthetic look to the product.
Within this time-lapse, I documented my process of creating the condensation. This was fairly easy as I had step by step instructions from the YouTube tutorial on how to complete – the only difficulty I faced was forgetting to turn objects on again after making changes to my model. Because I made a lot of changes to the droplets, like checking their rotation and placement on the surface of the bottle, it made rendering out tests to the picture viewer more time-consuming. I would send the current frame to the render viewer and it would take about 2 minutes before I could actually start to see the model – this is mainly due to all the passes that are done in the Physical Renderer but it still meant that I had wasted some time on waiting around being unproductive.
However, even though I experienced this issue (to which I have now learnt to double check) the final result of the product looks very good and was worth while.
Final:
Overall, the condensation effect is aesthetically pleasing and adds a nice feeling to the product – making it look more appealing to the audience. I feel the size of the droplets could be made a slight bit smaller to make it look more realistic as in the real world if water droplets were that big, gravity would make them fall down the bottle to the table surface.
Whats Next:
Next, I am going to work on the inside of the bottle and create 3 realistic fluid materials – each representing different flavours.
